Google
Group Blog
 
<<
ตุลาคม 2550
 123456
78910111213
14151617181920
21222324252627
28293031 
 
14 ตุลาคม 2550
 
All Blogs
 
เค้กใบเตย ( Rose Pandan Layer Cake )

Photobucket - Video and Image Hosting

Photobucket - Video and Image Hosting

Photobucket - Video and Image Hosting

Photobucket - Video and Image Hosting

Photobucket - Video and Image Hosting

Photobucket - Video and Image Hosting

Photobucket - Video and Image Hosting

Photobucket - Video and Image Hosting

ส่วนที่1
น้ำตาลทรายขาว 200 กรัม
แป้งเค้กร่อนแล้ว 167 กรัม
แป้งข้าวโพด 20 กรัม
ผงฟู 1 ช้อนชา
วนิลา 1 ช้อนชา
ไข่ไก่แช่เย็น 7 ฟองเล็ก
s.p 20 กรัม

ส่วนที่2
น้ำใบเตย 52 กรัม
สีเขียว 2-3 หยด
สีเหลือ 1-2 หยด

ส่วนที่ 3
เนยละลาย 100 กรัม

วิธีทำ
1. เตรียมอุปกรณ์ทุกอย่างให้พร้อม น้ำใบเตยทำได้จากนำใบเตยสดมาปั่นคั้นเอาแต่น้ำ เตรียมพิมพ์อบขนาด 9 นิ้ว 2 พิมพ์ โดยทาด้วยเนยขาวแล้วรองกระดาษไข จากนั้นทาเนยขาวทับอีกครั้งจนถึงขอบพิมพ์
2. นำแป้งเค้ก แป้งข้าวโพด ผงฟู ร่อน และรวมเข้าด้วยกันพักไว้
3. เตรียมโถผสม ต่อยไข่แช่เย็น +แป้งในข้อ 1 +น้ำตาลทรายขาว + sp และวนิลา ตีด้วยหัวตะกร้อความเร็วระดับ 3 นาน 6 นาที
4. จากนั้นปิดเครื่องใส่ส่วนที่ 2 คือน้ำใบเตย และสี ตีความเร็วระดับ 2 โดยค่อย ๆ ใส่ทีละน้อยจนหมดตีต่ออีก 3 นาที
5. จากนั้นใส่เนยละลาย แล้วลดความเร็วลงเหลือเบอร์ 1 นาน 3 นาที
6. จากนั้นเทใส่พิมพ์ นำเข้าอบไฟ 160 องศาซี นานประมาณ 10 - 12 นาที เค้กที่ได้จะมีสีเขียวอ่อน ๆออกนวล ๆ
7. นำออกมาจากพิมพ์ เตรียมราดหน้าเค้กด้วยสังขยา ซี่งการราดหน้านี้สามารถทำได้เลยไม่จำเป็นไม่ต้องรอให้เค้กเย็นจากนั้นประกบเค้กได้เลย
8. นำเค้กชิ้นที่ 1 คว่ำหน้าเค้กบนตะแกรง ลอกกระดาษไขออก ราดด้วยสังขยา จากนั้นประกบ เค้กชั้นที่ 2 ราดด้วยสังขยาทับเหมือนเดิมอีกครั้ง
หนากว่า เดิมนิดหน่อย
9. เมื่อเสร็จเอาสังขยาที่เหลือกรวยกระดาษ บีบทำลายด้านบน รอเค้กเซ็ทตัว ประมาณ 5-8 นาที แล้วตัดเค้กเป็นชิ้น ๆ ทานได้เลย


หน้าสังขยาใบเตย

ส่วนที่ 1
หัวกะทิ 1 กระป๋อง
น้ำตาล 3/4 -1 ถ้วย
น้ำเปล่า 1/2 ถ้วย
ผงวุ้น 1 ช้อนชา

ส่วนที่ 2
หัวกะทิ 1/2 กระป๋อง
น้ำใบเตย 1/2 ถ้วย
แป้งข้าวโพด 2 ช้อนโต๊ะ
สีเขียว 2-3 หยด
สีเหลือง 3-4 หยด
เนยสด 1 ช้อนโต๊ะ

วิธีทำ
1. นำส่วนผสมที่ 1 รวมกันในหม้อตั้งไฟพอเดือด อย่าคนมากเพราะจะทำให้ขอบหม้อไหม้ได้ และจะต้องใช้ไฟอ่อน ๆ พอเริ่มเดือดค่อยเร่งไฟเพิ่มขึ้น
2. จากนั้นใส่ส่วนที่ 2 แล้วคนให้เร็ว ๆ เพื่อให้ข้นจะเหมือนสังขยา
3. จากนั้นใส่เนยคนจนละลายให้หมดยกลงได้เลย รอจนหน้าอุ่นๆแล้วนำไปราดหน้าเค้ก

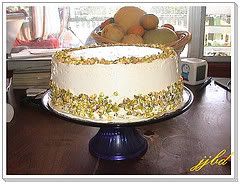
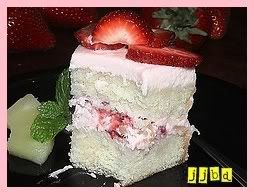
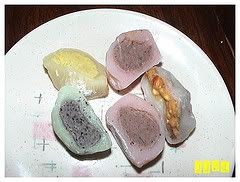
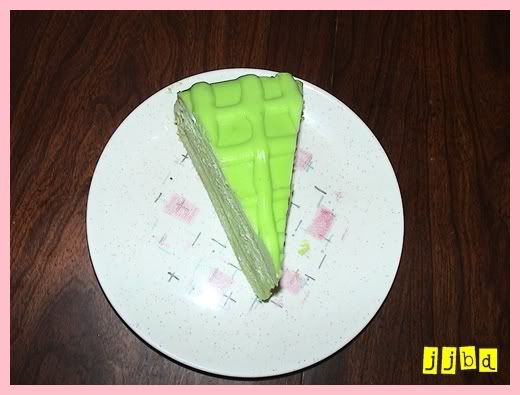
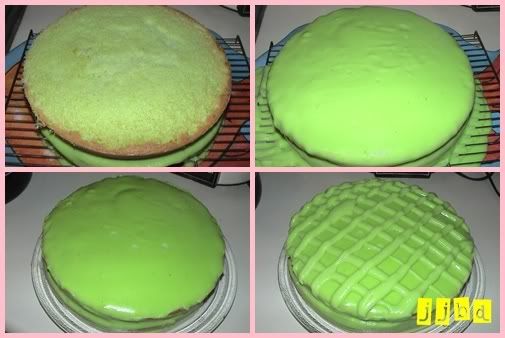
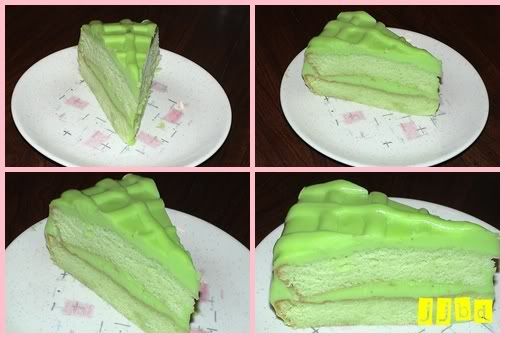
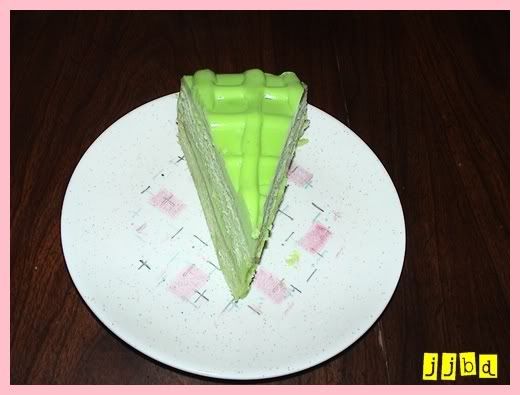
This sponge mixture is flavours with bi-tua leaves to give a green colour and bubble gum like flavour, so typical of bi-tua dishes. It’s better to use bi-tua flavouring for this because it’s concentated, but if you cannot get it, shred bi-tua in water and squeeze the leaves carefully to get as concentrated a flavour as possible into the water, then filter out the pulp so that only the green water is used.
To make a more interesting photograph, I’ve cut the sponge into cubes, but that is optional.

Ingredients
170 gms Unsalted Butter
170 gms Castor Sugar
4 Large Eggs
160 gms Cake Flour (With raising agent)
4-5 Drops Bi Tua Flavour

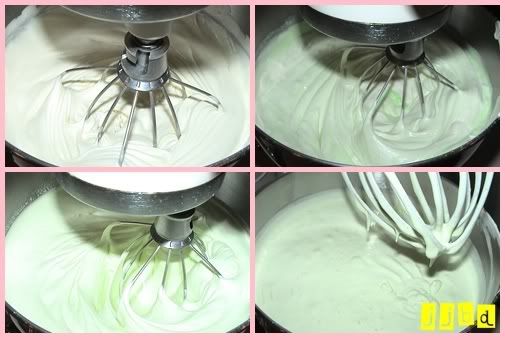
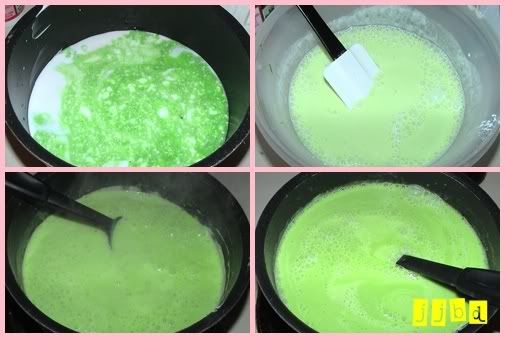
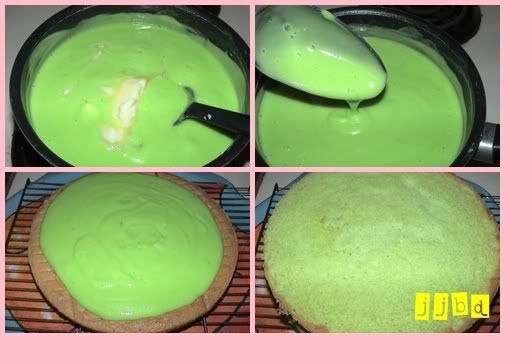
Preparation
1. Leave the butter to soften at room temperature.
2. Blend the butter with the sugar to form a smooth creamy mixture.
3. Add 2 of the eggs and whisk in until smooth, it’s better to use an electric whisk to get as much air into the mixture as possible.
4. Add the remaining eggs and whisk again.
5. Add the flour a little at a time, whisking in until smooth.
6. Finally finish by adding the bi-tua flavour. If the mixture is too loose, add a little more flour, you want a soft creamy paste at the end.
7. Line a cake dish with greaseproof paper, pour in the mixture. Bake in a pre-heated oven for 45-50 minutes at 180 degrees celcius

สูตรตัวเค้กจากเวปคุณ zomzaa.
Photobucket - Video and Image Hosting

Photobucket

ตอนที่ทำครั้งก่อน เผลอหันหลังให้แป๊บเดียวคุณลูกก็แอบฝากรอยนิ้วไว้ซะแล้ว ดีว่ายังตัวไม่สูงพอเลยฝากไว้แค่สามนิ้ว

Photobucket


Create Date : 14 ตุลาคม 2550
Last Update : 16 กันยายน 2551 17:03:34 น. 9 comments
Counter : 4557 Pageviews.

 
น่ารักจังเลยนะครับ


โดย: ตุ้มโฮม (ky007 ) วันที่: 14 ตุลาคม 2550 เวลา:15:33:42 น.  

 
ว้าว จำเพลงประจำบล็อคได้ดีแล้วครับ เข้ามาขอทานขนมที่นี่บ่อยจังเลย อายจังเลยครับ แต่น่าอร่อยมากๆครับ เค้กใบเตย สีเขียวน่าทานจังเลยครับ วันนี้ขอทานอีกนะครับ


โดย: ซอร์บอนน์ (ซอร์บอนน์ ) วันที่: 14 ตุลาคม 2550 เวลา:15:36:13 น.  

 
ตกลงเค้กยังทำไม่เสร็จ แต่น้องเอานิ้วไปจิ้มแล้วไช่ไม๊คะ


โดย: thaigirl21 วันที่: 14 ตุลาคม 2550 เวลา:17:08:20 น.  

 
ใช่ค่ะ


โดย: jjbd วันที่: 15 ตุลาคม 2550 เวลา:2:42:27 น.  

 
น่ารักจังเลยค่ะ ฮิฮิ

อ่านตอนแรกนึกว่าลูกทำจริงๆ กลายเป็นว่าลูกทำรอยให้เค้กคุณแม่ซะแล้ว


โดย: ลูกสน วันที่: 15 ตุลาคม 2550 เวลา:20:14:18 น.  

 
ลูกชายน่ารักมากเลยค่ะ


โดย: wee_nong วันที่: 17 ตุลาคม 2550 เวลา:7:22:38 น.  

 
น้องน่ารักจัง สายตาทะเล้นเชียว


โดย: kanyong1 วันที่: 19 ตุลาคม 2550 เวลา:18:30:40 น.  

 
กระทิ 1 กระป๋อง = กี่กรัมคะ


โดย: nan IP: 119.46.64.20 วันที่: 12 มกราคม 2554 เวลา:8:11:35 น.  

 
น่ากินมากครับ น้ำลายไหลเลย


โดย: LoveOnly วันที่: 7 พฤษภาคม 2554 เวลา:23:41:59 น.  

ชื่อ :
Comment :
  *ใช้ code html ตกแต่งข้อความได้เฉพาะสมาชิก
 

jjbd
Location :
Lopburi, Udon, Alaska United States

[ดู Profile ทั้งหมด]

ฝากข้อความหลังไมค์
Rss Feed
Smember
ผู้ติดตามบล็อก : 116 คน [?]


)

Whipped Cream Layer Cake
Strawberry Cream Cheese Roll
New York CheeseCake
Cheesecake Brownies
Mini Cheesecake
Blueberry Mousse Cake
Raspberry Cheesecake
Mango Cheesecake
Storwberry white cake
Storwberry swirl cheesecake
Thai milk tea cake
Storwberry cheesecake
Double chocolate mousse cake
Mini Blueberry Cheesecake
Kiwi storwberry mousse cake
Milk cake
Coconut cake
Storwberry mousse cake
Orange mousse cake
Chocolate banana muffins
Cajeta Crepes
Panancotta
Strawberry omelet
Honey walnut pie
Pineapply coconut pie
Berry Tart
คุกกี้งาไส้แยม
Rugelach
Meltine moments
Everyday oatmeal
Pineapply bars
Blueberry Cake
Halloween Cupcake
DAIFUKU
Deep Fried Ice Cream
Friends' blogs
[Add jjbd's blog to your web]
Links
 

 Pantip.com | PantipMarket.com | Pantown.com | © 2004 BlogGang.com allrights reserved.