Group Blog All Blog
|
Big Attractive Buttons
In this tutorial we'll learn to create some really attractive buttons ���ҧ���˹ѧ���ᵡ� ���� Photoshop
1. ���ҧ����������ǡ� T ����鹾���� ���Ƿӡ�þ�����ͤ������ 2. �� Ctrl+J
3. Filter ---> Stylize ---> Tiles
��駤�� Number Of Tiles
��������ҹ��ҧ���
4. click ��ҷ�� layer �á��������� layer
5. �ҡ������ click ���͡ layer
�ӡ�����͡��鹷�������ժ��٨�������ҹ��ҧ���
6. �ҡ���������͡��� layer ���᷺�տ�Ҵ�ҹ��ҧ��� ���ǡ� delete ����鹾����
��������ͧ�Դ�ҷ�� layer copy ���
��������ҹ��ҧ���
7. �ӡ�õ����� 5-6 �����ٻ�����ҹ��ҧ���
���������§�����
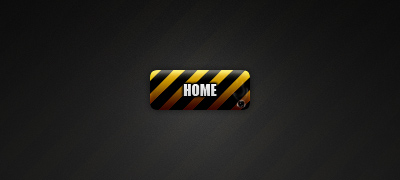
������ҧ���� Navigation ���� Industrial
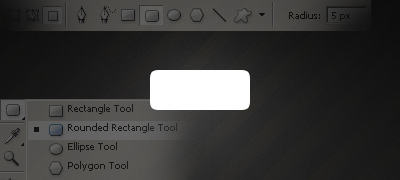
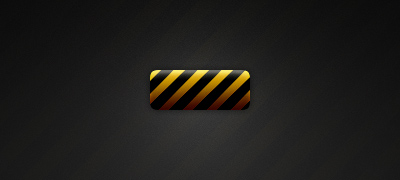
�Ẻ�֡�Ѵ Photoshop ��� �����ʴ��Ըա�÷ӻ��� navigation 1.������鹴��¡�����ҧ�͡������������Դ�����ҷ��س�Ҩ��ͧ������ҧ Note: �س����������㹡�����ҧ�����ͧ�س����ФѺ 2. ������Ҩз��Ϳ���Ѻ�����ͧ��ҡѹ�Ф�Ѻ �¢���á���س
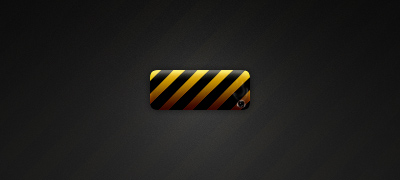
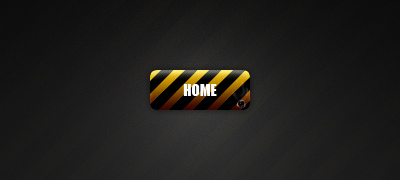
������ 3. ����س��ͧ����������������´��硹��ºҧ���ҧ �¼����� ���¡�����ҧǧ����մ�,������� light Stroke 4. 㹢�鹵�ش���¢ͧ��÷ӻ����ͧ�س ���س���������ͤ��� ��������ش������ҧ��ͤ��� �������� �Ϳ�ͧ text layer ��е���س����� �����ѧ��� : 5. �����ʹء�ѺẺ�֡���Ф�Ѻ Cradit: //www.devwebpro.com/industrial-style-navigation-buttons/ ������ҧ�������� Web 2.0
�ѹ���������ʴ��Ը� ������ҧ�������� Web 2.0 ���¡���� Adobe Photoshop CS2 1 �Դ Photoshop ��зӡ�����ҧ�͡�����������Ѻ����
|
Link |


 ���Դ������͡ : 3 �� [